Tuesday, July 12, 2011

Ocean Water Adult Style

We didn't forget about our little family food blog...the last few months have just been wild & crazy!  School, work, retirement and all life's adventures in between have kept us out of the blog-o-sphere.  Even though we haven't blogged, we're still been up to our cooking ways, and have some stuff to share that hopefully you will love!

When I (daughter) was a kid (oh wait, I still am a Kidd...haha...couldn't help myself) one of my favorite summertime treats was Ocean Water from Mr. Burger.  It was lime & coconut flavored fizzy goodness...and it was BLUE!  Who doesn't love blue soda?  I've been experimenting the last few days with an adult version...hope you love it as much as I do!

Ocean Water Adult Style

Crushed ice
1 tbsp frozen limeade concentrate
1 1/2 shots Malibu rum
1/2 shot Blue Curacao
Sparkling water or club soda

Fill a 12 oz glass with crushed ice.  Combine first 3 ingredients. Top off with sparkling water or club soda...I use lime flavored sparkling water. Stir until limeade is dissolved.  Enjoy (responsibly, of course)!

Tuesday, January 4, 2011

Lacey's Sangria

Happy New Year!  This year, I (daughter) traveled to Broken Arrow, OK to ring in the new year with dear friends, tamales, and an amazing homemade New Mexico inspired chicken soup.  What kind of a friend would I be if I didn't bring my famous sangria to wash it all down?  Several years ago, I concocted this happy juice based on several recipes I'd found online.  Most sangrias use club soda for the "fizzy" element.  Club soda is for amateurs.  I use champagne or sparkling wine instead of club soda.  Mucho delicioso!!  Try it...I promise you'll love it.  And if you don't, bring it over and I'll finish it off for you!

Lacey’s Sangria

1.5 Ltr Burgundy Wine
1 c Brandy
1 c Triple Sec
½ c Lemon Juice
1 c orange juice
1 c sugar
1 lemon, sliced
1 orange, sliced
750 ml champagne

Combine all ingredients except champagne.  Refrigerate overnight.  Add champagne just prior to serving, and serve on the rocks.


Thursday, December 23, 2010

Lemon Pepper Turkey Dip Sandwiches

When I (Daughter) lived in Santa Barbara, one of my favorite comfort foods was the Turkey Dip Sandwich (add pepper jack cheese) from the Brewhouse.  The Brewhouse Turkey Dip inspired this creation.  The lemon pepper makes a really tasty au jus!  A slow cooker makes this recipe easy, and clean up is even easier when you use a crock pot liner (you can usually find these with the aluminum foil in the grocery store.)

Ingredients:
1 (3 pound) pre-cooked turkey breast, cut in half
2 cups chicken broth
1/4 cup lemon pepper
6-inch whole wheat sandwich rolls
Swiss cheese slices

Directions:
1.  Pour the chicken broth into a slow cooker, then place the turkey breast halves flat side down in the slow cooker.  Sprinkle lemon pepper generously over turkey breast halves.  Cover with lid, cook on high setting for 1 hour.  Reduce to low heat setting and cook for 2-3 more hours.  Remove turkey to platter, reserving cooking liquid (au jus) in slow cooker. 

2.  Preheat oven to 400 degrees F.  Thinly slice turkey, and place on sandwich rolls, topping with cheese.  Leave sandwiches open faced, and place on a baking sheet.  Place top buns top down on baking sheet.  Bake for 5 minutes, or until cheese is bubbly and top buns are toasted.  Meanwhile, ladle au jus into ramekins.

3.  Remove sandwiches from oven, slice diagonally, and serve with the au jus.


You'll have plenty of turkey leftover!

Oreo Balls

My (Mama's) friend, Megan, turned me on to Oreo Balls. They are one of the tastiest treats I have made. They took me awhile to prepare. However, I am a perfectionist and I like to change things up from original recipes sometimes. For instance, when it says in #1 to use a blender or hand held mixer-I would rather beat the Oreos to death and mash them up in a zip lock back with a rolling pin. Very therapeutic! Also, I enjoyed wearing baker's gloves and smushing up the cream cheese in the Oreos with my hands. I think it made a better filling. Just FYI. Be careful not to make the hole in the zippy for the drizzle too big. The smaller you can get the hole, the prettier the drizzle turns outs. Have fun making these little, rich bites. They are good for any season. You could decorate them any way you please for any occasion!

Ingredients:
1 pkg regular size Oreo cookies, crushed
1 (8 ounce) package cream cheese, softened
1 pkg white almond bark
1 pkg chocolate almond bark

Directions:
1.  Using a blender or hand held mixer, mix Oreos and cream cheese together.
2.  Roll into walnut size balls.
3.  Chill for an hour.
4.  Melt approximately 3/4 package of white almond bark.
5.  Stick a toothpick in an Oreo ball and dip it in the melted white bark.  (I used Wilton's candy dipping tools for this step instead of a toothpick.)
6.  Allow to harden on wax paper, for about 15 minutes.
7.  While waiting, melt about 1/4 pkg of chocolate almond bark.
8.  When Oreo balls are no longer sticky to the touch, decorate with drizzles of chocolate and white almond bark.  Use a sandwich bag with a tiny hole cut in one corner to drizzle the almond bark.  

*I dipped some balls in the chocolate bark and drizzled with white bark to change it up a bit.  Enjoy!


Wednesday, December 22, 2010

Triple Chocolate Cheesecake Lightened Up

Another Thanksgiving dessert, this was my (Daughter) first time to make a cheesecake the real way.  Sure, I've done Jell-O No Bake, but the whole concept of using a springform pan and baking the cheesecake was new to me.  Because we had three desserts at Thanksgiving, one had to be lightened up at least a little.  So here is a lightened version of one of my favorite indulgences.  All the richness and texture of a traditional cheesecake, with only a fraction of the waist expansion.  This recipe is based on the Triple Chocolate Cheesecake recipe found in the Weight Watchers cookbook, "All Things Sweet."

For the crust:
1/4 cup sugar
1 tbsp stick margarine
1 tbsp egg white
1 1/3 cup chocolate graham cracker crumbs (about 16 whole crackers)
Cooking spray

For the filling:
3 tbsp dark rum
3 (1 oz) squares semisweet chocolate
1/4 cup chocolate-flavored syrup (see step 3)
1 (8 oz) block fat-free cream cheese, softened
1 (8 oz) package Neufchatel cheese or light cream cheese, softened
1 cup sugar
2 tbsp unsweetened cocoa
1 tsp vanilla extract
1/4 tsp salt
2 large eggs

For the topping:
1/2 cup low-fat sour cream
1 tbsp sugar
2 tsp unsweetened cocoa

1.  Preheat oven to 350 degrees F.

2.  Place first 3 ingredients in a bowl; beat at a medium speed of a mixer until blended.  Stir in crumbs.  Spray 9-inch springform pan with nonstick cooking spray.  Press mixture into bottom and 1 inch up sides.  Bake at 350 for 10 minutes.  Let cool on a wire rack.  Reduce oven temperature to 300 degrees.

3.  At this point I realized I had no chocolate syrup, and it was 25 degrees outside on Thanksgiving morning, and I wasn't going out on the hunt for chocolate syrup.  So I made my own.  I can't remember where I found the recipe, but it is listed below.  SO much better than store-bought.  Once you've made the chocolate syrup, set aside in refrigerator, and proceed with making the cheesecake.

4.  Combine rum and chocolate squares in the top of a double boiler.  Cook over simmering water 2 minutes or until chocolate melts, stirring frequently.  Remove from heat; add chocolate syrup, stirring until smooth.

5.  Place cheeses in a large bowl; beat at medium speed of a mixer until smooth.  Add 1 cup sugar, 2 tbsp cocoa, vanilla, and salt; beat until smooth.  Add rum mixture; beat at low speed until well blended.  Add eggs, 1 at a time, beating just until blended after each addition (do not overmix or cake will crack!)

6.  Pour cheese mixture into prepared pan; bake at 300 degrees for 40 minutes or until almost set (cake will still jiggle in center but will firm up as it cools.)  Combine sour cream, 1 tbsp sugar, and 2 tsp cocoa; stir well.  Turn oven off; remove cheesecake from oven.  Spread sour cream mixture over cheesecake; return cheesecake to oven.  Let stand for 45 minutes in oven with the door closed.

7.  Remove cheesecake from oven; run a knife around edge of cake to loosen cake from pan.  Let cool to room temperature.  Cover and chill at least 8 hours.  You can cut into it sooner, but something happens during the 8 hour chilling time that transforms this cheesecake from average to Holy COW!!!  Garnish w/ chocolate curls, if desired.  Also note:  I covered the cheesecake w/ Saran Wrap while it was chilling in the fridge.  Condensation formed on the Saran Wrap, and dripped down onto the cake, causing a little discoloration.  If you are concerned about aesthetics, don't cover while chilling. 


Chocolate Syrup Recipe
Ingredients:
1/2 cup cocoa powder
1 cup water
2 cups sugar
1/8 tsp salt
1/4 tsp vanilla

Instructions:
Mix the cocoa powder and the water in a saucepan. Heat and stir to dissolve the cocoa. Add the sugar, and stir to dissolve. Boil for 3 minutes over medium heat. Be careful not to let it get too hot and boil over! Add the salt and the vanilla. Let cool. Pour into a clean container, and store in the refrigerator.  Should keep for several months.  Yields two cups.

Sunday, December 19, 2010

Apple Butter Spice Cake with Caramel Frosting

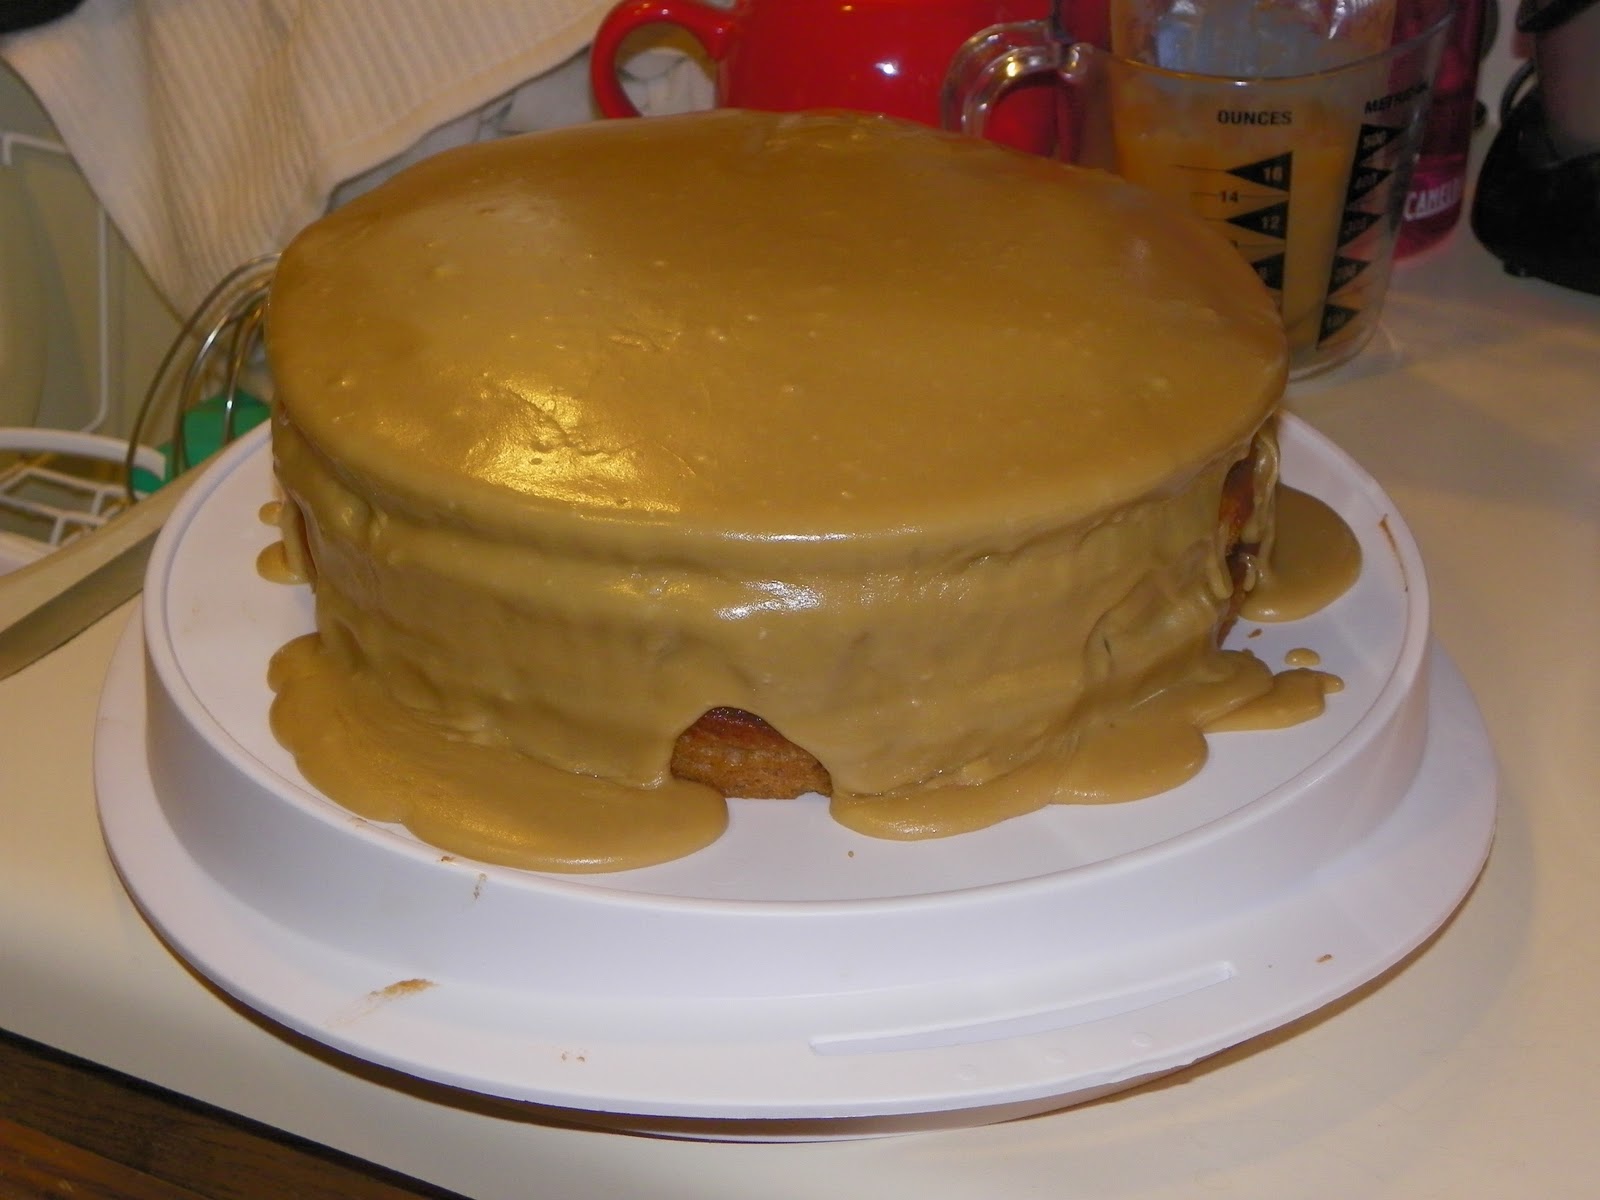
It's embarrassing that we haven't even posted our Thanksgiving menu yet!  Oh well, better late than never.  Here is one of the desserts I (daughter) made for Thanksgiving.  The apple butter and caramel are very autumn-like flavors, however, I liked this cake so much, it may become one of my year-round favorites!  The recipe comes from "The Cake Mix Doctor Returns" by Anne Byrn.


For the cake:
1 pkg (18.25 oz) plain spice cake mix
1 cup sour cream (I used light sour cream and it worked perfectly...with all the butter in this recipe, ya gotta cut calories where ya can!)
3/4 cup water
1/2 cup vegetable oil
3 large eggs
1 teaspoon pure vanilla extract

For the filling:
1 large egg
1 large orange
2 cups apple butter
2 tbsp (1/4 stick) butter
1/2 cup finely chopped toasted pecans (I left these out since we have a non-nut eater in the family)

For the frosting:
8 tbsp (1 stick) butter
1/2 cup packed light brown sugar
1/2 cup packed dark brown sugar
1/4 cup milk
2 cups confectioners' sugar, sifted
1 tsp pure vanilla extract

Directions:
1.  Make the cake:  Place a rack in the center of the oven and preheat the oven to 350 degrees F.  Spray 3 9-inch round cake pans with non-stick baking spray, such as Baker's Joy.

2.  Place the cake mix, sour cream, water, oil, 3 eggs, and vanilla in a large mixing bowl and beat with an electric mixer on low speed until the ingredients are incorporated, 30 seconds.  Stop the machine and scrape down the side of the bowl with a rubber spatula.  Increase the mixer speed to medium and beat for 2 minutes longer, scraping down the side of the bowl again if needed.  The batter should look well blended.  Divide the cake batter evenly among the 3 prepared cake pans, about 1 1/2 cups of batter per pan, smoothing the tops with the rubber spatula.  Place the pans in the oven.  If your oven is not large enough to hold 3 pans on the center rack, place 2 pans on that rack and one in the center of the rack above.

3.  Bake the cake layers until they are light brown and the tops spring back when lightly pressed with a finger, 16 to 18 minutes.  The cake layer on the higher rack may bake faster so test it for doneness first.  Transfer the cake pans to wire racks and let the cake layers cool for 10 minutes.  Run a dinner knife around the edge of each cake layer and give the pans a good shake to loosen the cakes.  Invert each layer onto a wire rack, then invert it again onto another rack so that the cakes are right side up.  Let the layers cool completely, 20 minutes longer.

4.  Meanwhile, make the filling:  Place the egg in a metal bowl and beat until the egg is lemon colored.  Rinse the orange and pat it dry with paper towels.  Grate enough zest to measure 1/2 teaspoon.  Cut the orange in half and squeeze the juice into a small bowl.  You will need 1/3 cup of juice (if the orange doesn't yield 1/3 cup of juice, you can use oj from a carton to make up the difference).  And the orange zest and juice to the beaten egg and set this mixture aside.

5.  Place the apple butter in a heavy saucepan over medium heat and stir it with a whisk until it is steaming and bubbly.  Pour half of the hot apple butter into the egg mixture and whisk briskly to combine.  Pour this egg mixture back into the saucepan with the remaining apple butter and whisk briskly over low heat until the mixture bubbles and thickens, 3-4 minutes.  Remove the pan from the heat, add the butter, stir until it melts, then let cool.

6.  To assemble the cake, transfer one layer, right side up, to a serving plate or cake stand, spread half of the filling on top, and sprinkle 1/4 cup of the pecans over the filling (pecans optional).  Place the second cake layer, right side up, on top of the first, and spread the remaining filling over it, topping it with the remaining 1/4 cup pecans (again, pecans optional).  Place the third layer of cake on top of the second.  Cover the cake with plastic wrap and set it aside.

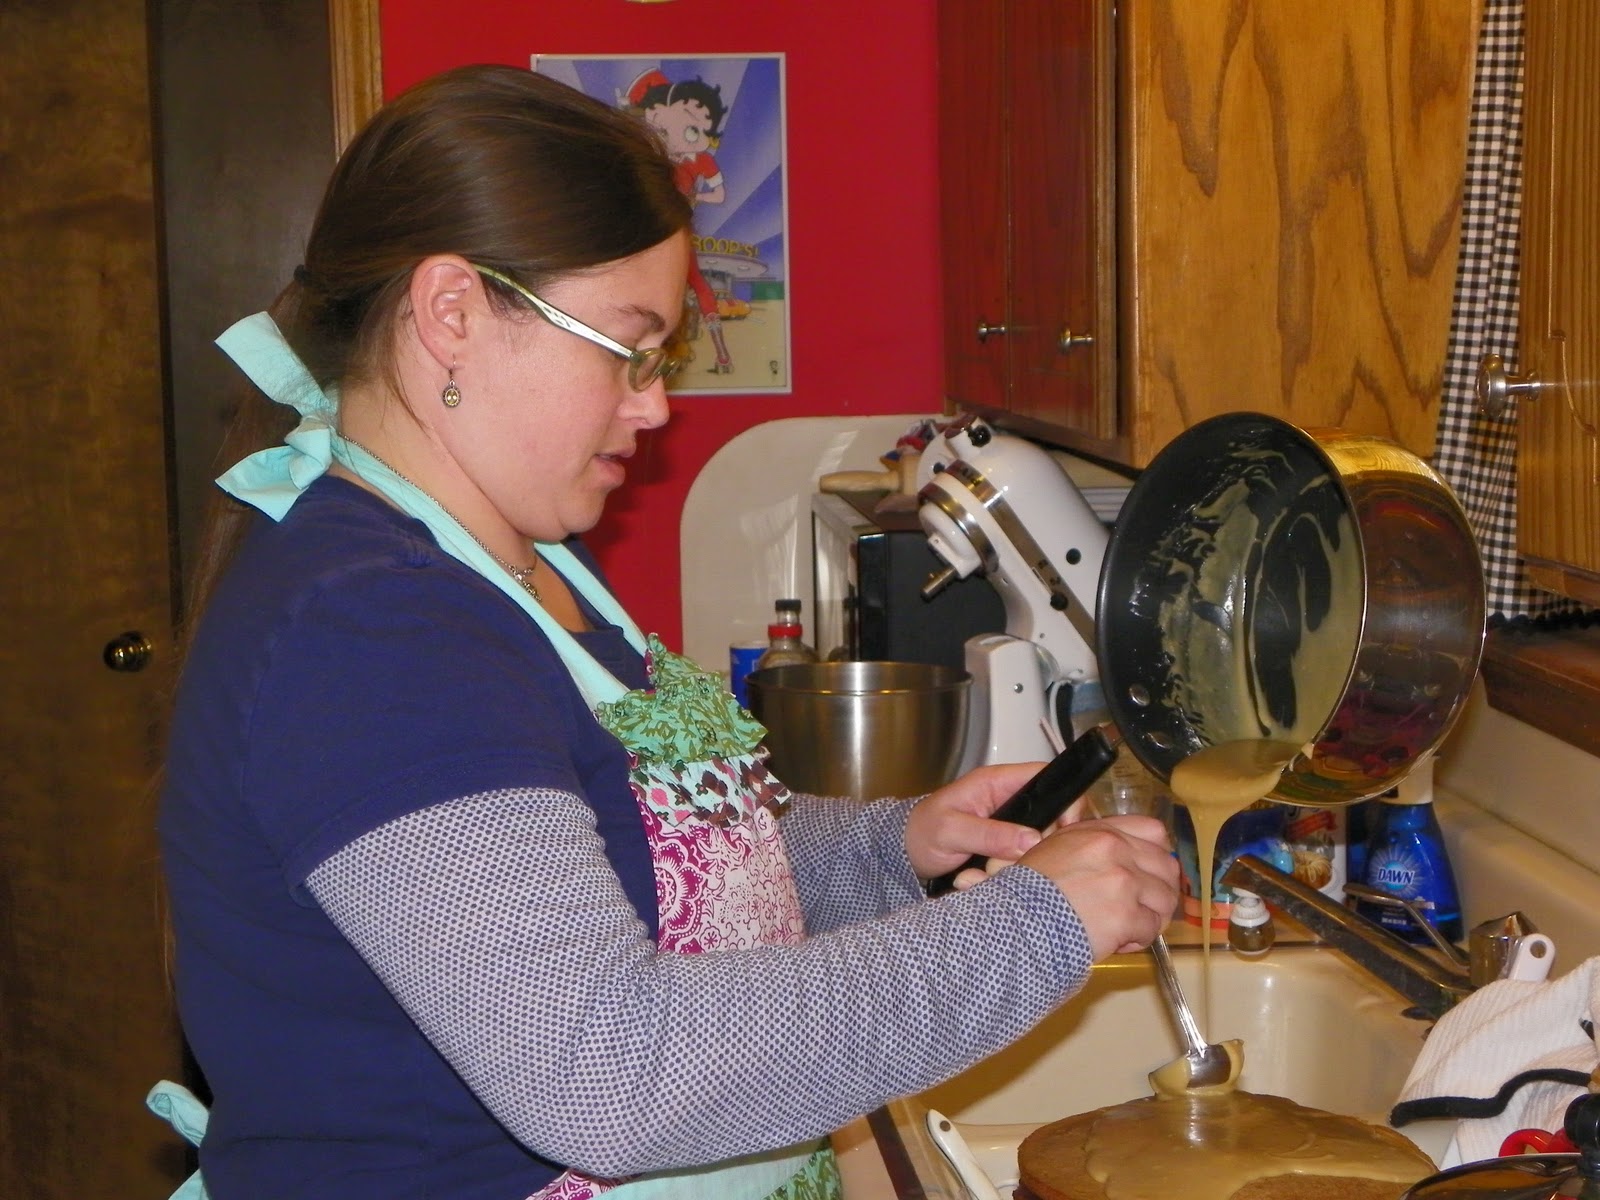
7.  Make the caramel frosting.  Place the butter and brown sugars in a heavy medium-size saucepan over medium heat.  Cook, stirring, until the mixture comes to a boil, about 2 minutes.  Add the milk, stir, and let the mixture return to a boil, then remove the pan from the heat.  Add about 1 1/4 cups of the confectioners' sugar and the vanilla.  Beat with a wooden spoon or whisk until the frosting is smooth.  Add 1/2 to 3/4 cup confectioners' sugar, but not so much that it thickens and hardens.

8.  While the frosting is warm, spoon or pour two thirds of the frosting over the top of the cake, letting it flow down the side.  If you wish, using a long metal icing spatula, spread out the frosting on top and spread it around the side, working with smooth, clean strokes.  I skipped this step, because I liked the way the cake looked with the frosting flowing down the side. I poured all of the frosting over the top instead of two thirds like the recipe directs.  As the frosting cools, it will harden.


Store the cake in a cake saver or loosely covered with plastic wrap at room temperature for up to 3 days.  The cake can also be frozen, wrapped in aluminum foil, for up to 6 months.  Let the cake thaw on the counter overnight before serving.

Serves 12 to 16

Red Velvet Cookies

Every year we are invited to a cookie exchange.  The dilemma:  go with a signature recipe or come up with something new.  This year, we put a new twist on one of our favorites.  Earlier I (daughter) posted a recipe for Lemon Cookies.  As much as I love all things lemon, I love all things red velvet, also.  I modified the Lemon Cookie recipe, and here's the result.

Ingredients
  • 1 (18.25 ounce) package German chocolate cake mix
  • 2 eggs
  • 1/3 cup vegetable oil
  • 1 bottle (1 oz) red food coloring
  • 1/3 cup confectioners' sugar for decoration
Directions
  1. Preheat oven to 375 degrees F.
  2. Pour cake mix into a large bowl. Stir in eggs, oil, and food coloring until well blended. Drop teaspoonfuls of dough into a bowl of confectioners' sugar. Roll them around until they're lightly covered. Once sugared, put them on an ungreased cookie sheet, or a cookie sheet covered with a Silpat.
  3. Bake for 6 to 9 minutes in the preheated oven. The bottoms will be light brown, and the insides chewy.
Tip: To form the dough without making a mess, use latex gloves (or nitrile, if you're allergic to latex). Put gloves on both hands, spray one hand with non-stick baking spray (like “Baker’s Joy”) and then rub hands together. I learned this lesson the hard way!
Makes about 4 dozen.